Coconut Pancakes with Strawberry-Banana Soft Serve
…and she disappeared for almost a month.
My last post was dated the 29th of April – how time flies! Hopefully I have a few readers still checking back ![]() Don’t worry though, I definitely didn’t forget about the blog. I worried about and often itched to write a blog post, but the past few weeks have been beyond crazy: training for races, deadlines – you name it, I did it!
Don’t worry though, I definitely didn’t forget about the blog. I worried about and often itched to write a blog post, but the past few weeks have been beyond crazy: training for races, deadlines – you name it, I did it!
Yet the lack of posts doesn’t mean there was a lack of cooking or baking. I’ve got heaps of great recipes lined up and ready to go for all of you, including some savory which hasn’t been showing much on Crunch and Chew.
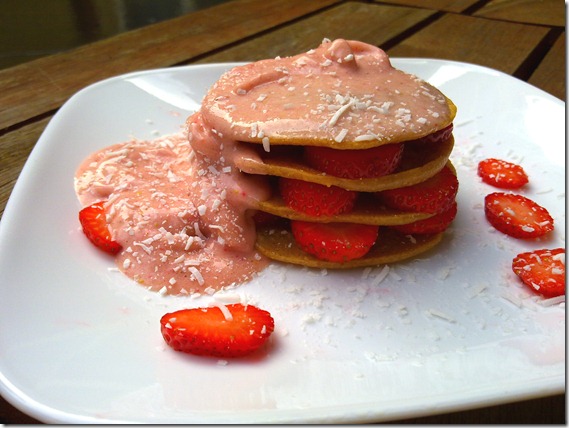
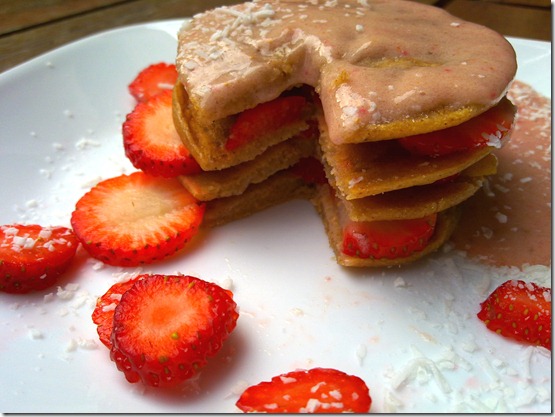
Let’s talk pancakes, though. Coconut pancakes. Hot coconut pancakes with fresh strawberries and creamy strawberry-banana soft serve. Would you believe that this is healthy, too?
The pancakes get their coconuttiness from coconut butter in the actual batter, used to replace the usual oil or margarine in vegan pancakes. Simple but delicious soft serve ties the dish together – and who doesn’t like ice cream for breakfast?
Inspired by Oh She Glows (soft serve recipe/presentation from there)
Ingredients:
For the pancakes:
1/4 cup whole wheat flour
1/2 t baking powder
pinch salt
pinch sugar (to taste, opt.)
lemon zest (opt.)
1/3 cup nondairy milk
1/2 T coconut butter, melted
touch of lemon juice (opt.)
For the soft serve:
Half a banana, frozen
3 large strawberries, preferably frozen
To serve:
5 large strawberries, sliced to make rounds
1 T shredded coconut
- Preheat oven to a very low setting. In a large bowl mix together flour, baking powder, salt, sugar and lemon zest.
- In a smaller bowl mix together the milk, coconut butter and lemon juice. Be quick as the coconut butter can solidify quickly in the milk!
- Make a ‘well’ in the dry ingredients and pour in the coconut-milk mixture. Mix until just combined.
- Cook batter like normal pancakes (pan greased with a little oil or melted vegan butter). While cooking the others, keep warm on a tray in your preheated oven.
- Make the soft serve by blending all soft serve ingredients together.
- To serve, stack the pancakes and strawberry rounds, then top with soft serve and sprinkle with shredded coconut. Serves one hungry person!
Look at the fresh strawbs and the melting soft serve!
I need to make these again.
Pearl xo
Earl Grey, Orange and Currant Scone for One
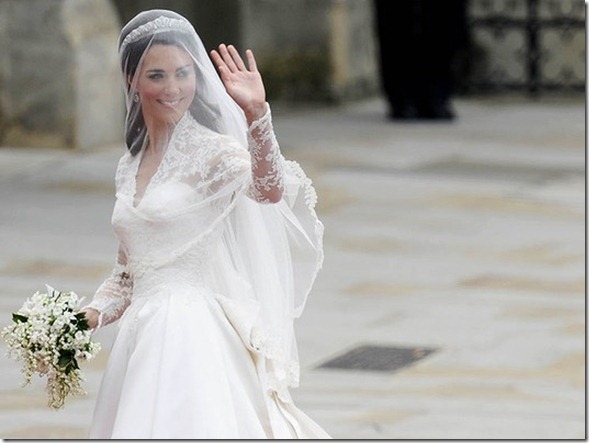
I’m 97.864% (rough estimate) sure you’re aware that just over 12 hours ago, more than 2 billion people around the world watched as Prince William married the now-Princess Kate.
It’s just one of those things: you were either with it, or totally not.
I’m going to confess that I was smitten. Without an ounce of boredom, I watched 7 full hours of live coverage while furiously tweeting. Don’t judge.
What’s not to love? The crowds, the buzz, the fairytale story and of course the dress. Doesn’t she look breathtaking?
Don’t think that I spent those 7 hours without eating, though. After all, what’s a royal wedding without some royal food?
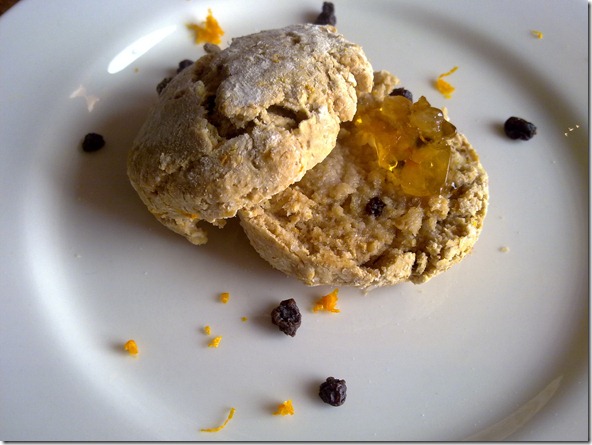
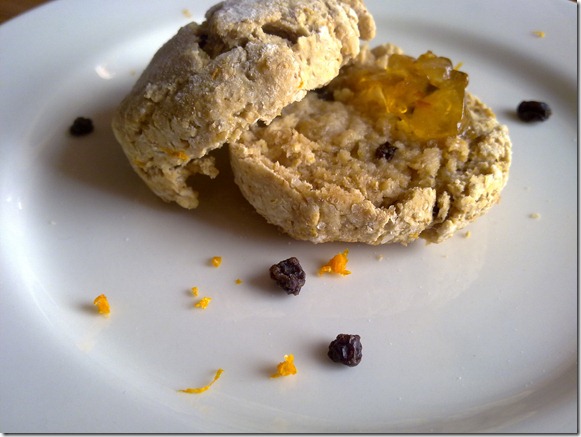
This delightful scone is a bit ‘fancy’ – infused with Earl Grey tea and touched with a hint of orange zest. It’s an easy, single-serve treat fit for a queen princess! Adapted from Taste.
Ingredients:
- 1.5 tbsp nondairy milk
- 1 earl grey tea bag
- 3 tbsp whole wheat (preferably pastry) flour
- 1/2 t baking powder
- pinch salt and sugar
- 1/2 t orange zest
- 10g vegan margarine
- 1 tsp dried currants
- All-purpose flour, for dusting
- Preheat oven to 375F/200C. Heat the milk in a small bowl using a microwave. The milk should be quite hot and steaming, this took 30 seconds on high in my 800W microwave. Adjust times accordingly.
- Place the tea bag in the milk and press it down lightly using a teaspoon to aid in brewing.
- While the milk is being infused with the tea, mix together the flour, baking powder, salt, sugar, orange zest and currants. Using your fingertips, rub the margarine into this mixture.
- Squeeze the teabag to get the milk it has ‘absorbed’ before discarding. The milk should now be light brown in color. Add the milk the the flour mixture.
- Begin combine the mixture by cutting through it with a knife. Combine completely with wet hands until you have formed a dough.
- Shape the dough into a scone and place on a floured (all-purpose flour) baking tray. Dust scone with a little more flour.
- Bake for 10-12 minutes or until scone is golden. Serving ideas include vegan margarine, jam, marmalade and cream. Makes one scone.
This scone was blissful served warm with vegan margarine, orange marmalade, and of course a cup of earl grey tea.
Did you join in all the excitement of the royal wedding? How did you celebrate?
Pearl xo
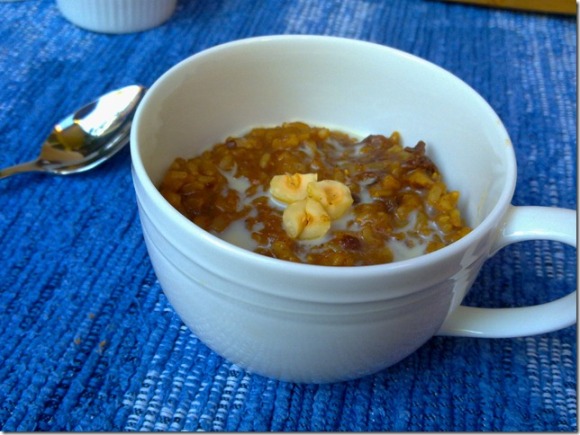
Hazelnut Cappuccino Rice Pudding
Bonjour!
First off, I’d like to apologise for my brief blog absence over this past Easter weekend. In the midst of vacationing and Easter celebrations, sadly I couldn’t find the time to write a post and greet you a Happy Easter! Better late than never, though, and I hope that you all had a joyful Easter ![]()
If you’ve been reading my blog for a bit, or if you’ve taken a peek at my recipe page, you may have noticed that I have a bit of a thing for these rice puddings. They all use the same ‘base’ recipe and are all oh-so-easy and quick to whip up, making them perfect for breakfast. Unlike the other rice puddings however, today’s recipe doesn’t use fruit.
No, it uses something even better (though not quite as good as chocolate): COFFEE ![]() <—this here is the face I make after having 5 cups.
<—this here is the face I make after having 5 cups.
Like some of my other recipes, this was an experiment which fortunately turned out quite nicely. It uses a strong dose of real coffee so you won’t be missing out on any caffeine, though surely there’s no harm in having an extra cup with this breakfast?
Ingredients:
- 1/2 cup cooked brown rice
- 1/2 cup nondairy milk (I used soy)
- 1/2 cup strong coffee
- 1 tbsp raw sugar
- 1 tbsp raisins
- about 3 tbsp hazelnuts, roughly chopped
- 1/4 tsp ground cinnamon
- 1/4 tsp vanilla extract (you could try coffee extract – if you do, let me know how it goes!)
- drizzle of soymilk and chopped hazelnuts to serve
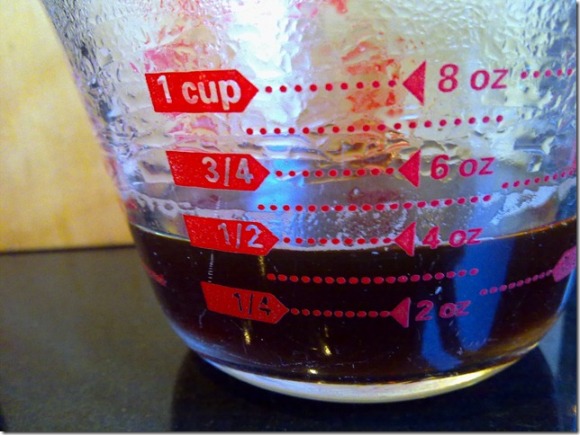
- Brew your coffee – I chose to make strong coffee from instant coffee granules, but you can use coffee from a press or a bag so long as you make it really strong.
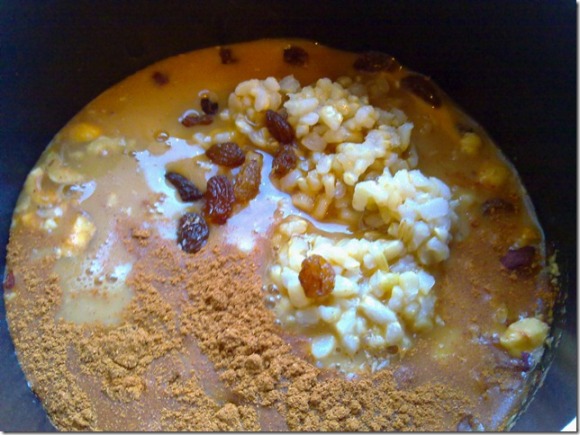
- Place all ingredients including the coffee (except the drizzle of soymilk and chopped hazelnuts for serving) in a small saucepan and stir to combine.
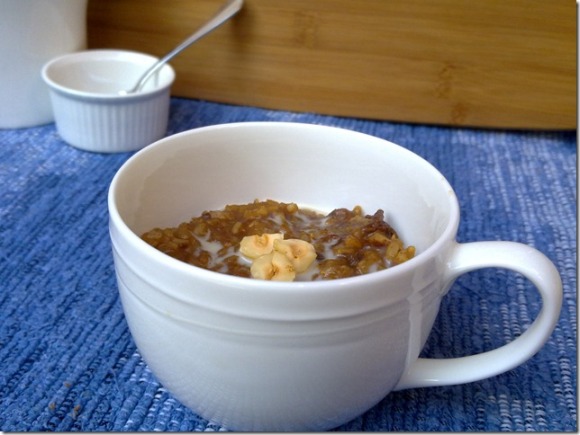
- Heat over medium-high heat and allow to boil continuously, stirring constantly, until mixture is reduced and the desired consistency is reached (takes around 10 minutes). Serve with a touch of soymilk and chopped hazelnuts on top. Makes about 3/4 cup of rice pudding, a small serve for one.
It’s crucial that you make your coffee extra-strong in order for the flavor to shine in the finished pudding. If you’re worried about caffeine, you can always use decaf – it’s the flavor that counts. On that note, I’ll have to try this with tea.
As with all the other rice puddings, it’s simply a matter of placing all the ingredients in a saucepan. Sweet and simple!
Within ten minutes you have a decadent, warm rice pudding:
Enjoy ![]()
How long do you spend making breakfast?
What other rice pudding spin-offs would you like to see?
Pearl xo
Vanilla Cashew Fudge Frosting
Yeah, baby.
I’ve dubbed this stuff ‘vegan heaven’ and ‘too dangerous to keep in my house’. It is just that good.
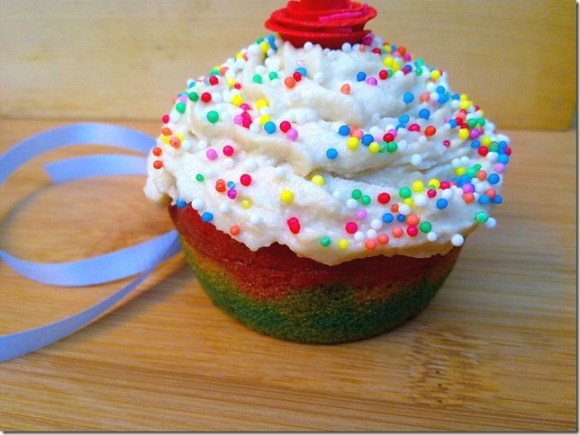
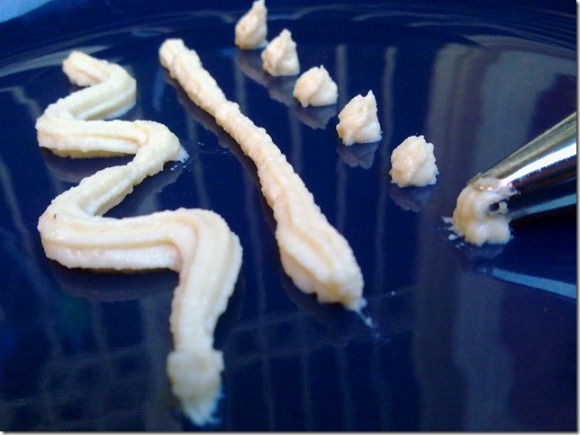
For those who saw my Rainbow Magic Cupcakes, this was the cute creamy swirl on top and the frosting recipe that I said I’d post in due time. To be honest, I seriously considered keeping this recipe to myself – but where’s the fun in that? Sharing is caring ![]()
I was so lucky with that this recipe (initially an experiment) turned out much better than well. If I’d known that I’d end up with something so delicious I would’ve tripled the batch halved the recipe – my self control needs some work.
Only four ingredients come together here to make a thick, creamy and indulgently fudgy vegan frosting that’s downright addictive. The good news is that it’s relatively healthy, too – the cashews give it some serious nutritious kick and it’s sweetened with agave as opposed to confectioner’s sugar, unlike typical cupcake frostings.
The bad news is that doesn’t mean you’re allowed to single-handedly finish the whole batch within 24 hours. What can I say? I’m a rule breaker.
Ingredients:
- 1 cup raw cashews (no need to soak!)
- 1/4 to 1/2 cup nondairy milk (depends on how thick you’d like it, I used 1/4 cup)
- 1/2 tbsp agave nectar (more if you have a big sweet tooth)
- 1/4 to 1/2 t vanilla (depends on how strong you’d like the vanilla flavor, feel free to sub in other extracts like caramel or even chocolate!)
- Blend all ingredients together until creamy and fudge-like. I’d recommend starting with minimal amounts of milk, vanilla and agave, then increasing to taste if required. Makes about 3/4 cup of frosting.
One of the best parts of the frosting is that it doesn’t rely on vegan butter or margarine as a base, quite like this lime buttercream made with avocado (that stuff is phenomenal, too).
I’m in love!
Pearl xo
Rainbow Magic Cupcakes
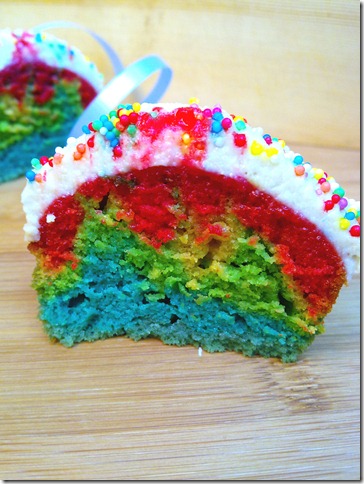
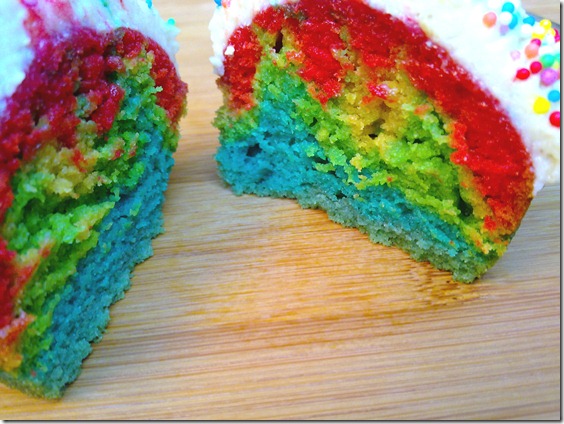
Sorry, I just had to throw in the word ‘magic’ into the title – it’s totally true! There’s a magical moment when you bite into these and reveal the interior…
Before we get to that, however, you might be wondering why I’m straying from the ‘generally wholesome food’ theme here on Crunch and Chew. It was a certain someone’s birthday a few weeks back and as a food-lover and now-blogger, I find it heaps of fun making your own birthday food and more importantly your own birthday cake! I chose to make cupcakes instead of a massive cake for ease of sharing and decorating – and really, who doesn’t find cupcakes cute?
These cupcakes do take a little time and effort to prepare, but the finished product is wonderful and absolutely worth it. Unfortunately I did resolve to using food coloring to color these cupcakes. I’m not sure how using natural food dyes (like ones you get from beetroot or spinach) would work, but if you do try it please let me know – I’d be interested to find out!
Finally, before I leave you with the recipe, you might have noticed that creamy-looking swirl of frosting on the cupcakes. Out of sheer luck, an attempt to improvise a creamy frosting out of cashews turned out amazingly. Vanilla Cashew Fudge Frosting. Every bit as good as it sounds! You’ll have to wait a day or two for the recipe though, just to keep you in suspense ![]()
Prepare for some rainbow magic…
Tweaked from Vegan Cupcakes Take Over The World, original recipe found here
Ingredients:
- 1 cup nondairy milk (I used soy)
- 1/2 tsp white vinegar (if I’d had apple cider on hand I would’ve used that)
- 1/2 cup + 2 tbsp all-purpose flour
- 1 T cornstarch
- 1/2 tsp baking powder
- 1/4 tsp baking soda
- pinch salt
- 2 tbsp canola/vegetable oil
- 1/4 cup + 2 tbsp sugar (I used brown, but would choose white or caster next time)
- 1 t vanilla
- Red, blue, yellow and green food coloring (make sure it’s vegan/non-animal derived, especially the red food coloring – no cochineal, thanks!)
- Preheat oven to 350F/180C. Lightly oil six holes of a cupcake tin, or line them with cupcake liners.
- In a large bowl, mix together the milk and vinegar. Allow to curdle.
- Add oil, sugar and vanilla and whisk.
- Sift in remaining ingredients and mix to combine. Try to eliminate as many lumps as possible from the mixture (some small lumps are okay).
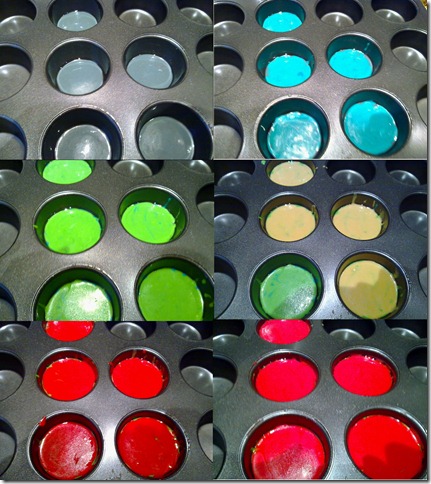
- Divide batter between six bowls. In each bowl, add food coloring drop by drop (mixing after each drop) until the desired color is reached for that bowl. Here’s a sort-of guide as to how I colored the batter:
Red: red food coloring (3-4 drops)
Orange: red and yellow food coloring (more yellow than red, go slowly!)
Yellow: yellow food coloring (2-3 drops)
Green: green food coloring (3-4 drops)
Blue: blue food coloring (4-6 drops)
Purple: red and blue food coloring (more red than blue, go slowly. Too much blue here makes the batter look grey!)
6. Divide each bowl of colored batter between the six cupcake holes. I made the layers by dripping the batter off a spoon in a swirl beginning from the edge going into the middle of the cupcake holes, then gently smoothing out the batter with the teaspoon (hope this makes sense). My layers went in the order of the colors in the guide above, with purple at the bottom and red and the top.
7. Bake cupcakes for 18-22 minutes, or until they spring back when lightly touched and a cake tester comes out clean when inserted into the middle of the cupcakes.
8. Transfer to a wire rack to cool. Allow to cool before frosting. Makes 6 magical rainbow cupcakes.
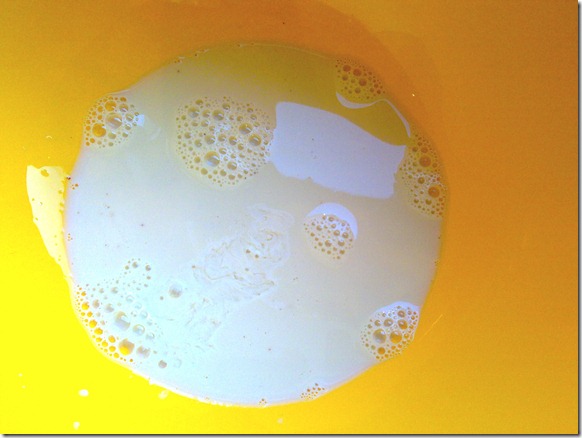
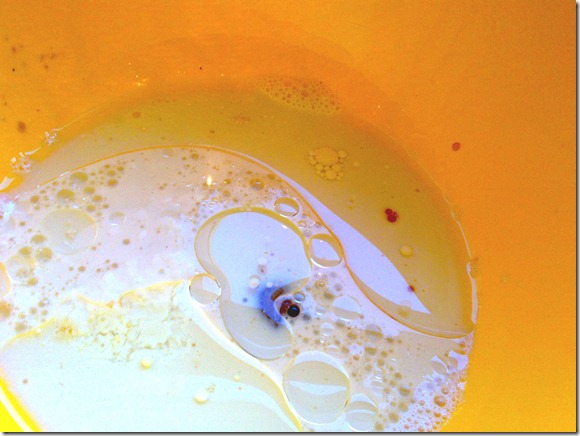
Vinegar and non-dairy milk paired with baking powder/soda is always a sure-fire way to make vegan cupcakes rise. Check out that curdle!
Add in the rest of your wet ingredients…
…and whisk. I used brown sugar and, what a surprise, the batter turned brown! It didn’t affect the colors much (if at all) in the end, though next time I’d use caster or white sugar.
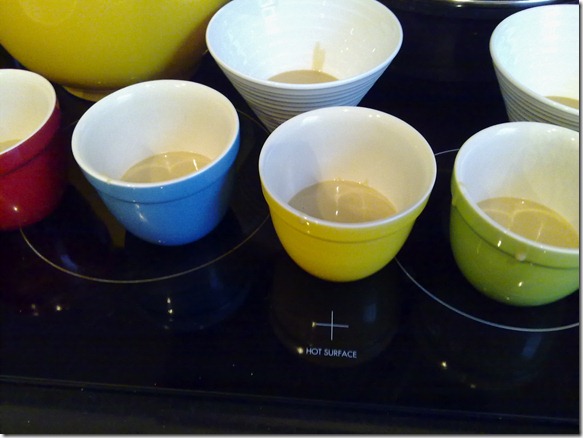
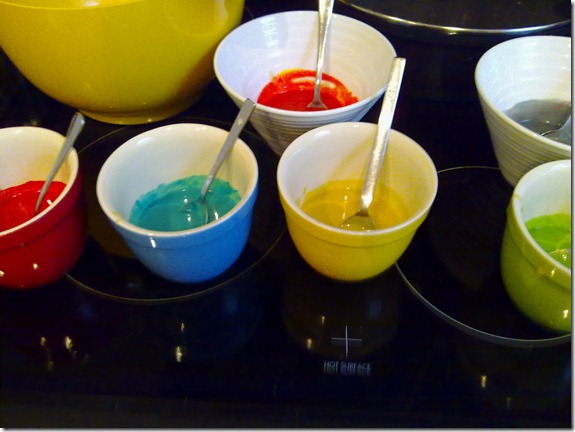
Once the batter’s finished (dry ingredients sifted in and mixed), divide it into 6 small bowls. Try to make them as even as possible. I matched the color of the bowls with the color of the batter they’d contain, except for the two (purple and orange) batters where I’d have to do some mixing ![]() (These pictures make me happy just looking at them! Or maybe it’s withdrawal…)
(These pictures make me happy just looking at them! Or maybe it’s withdrawal…)
Now for the fun part – coloring! Go drop by drop and remember that a little goes a long way.
Now for the not-so-fun part – layering. This takes time and concentration. (Yes, I ran out of yellow batter for one of the cupcakes)
Once the layering is done, pop the tin into your oven and breathe out in relief. Your work here is done!
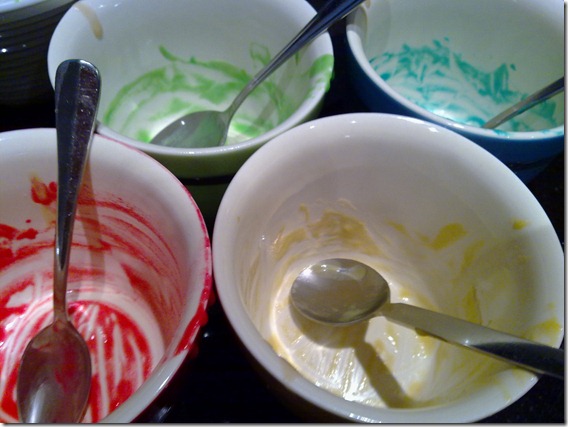
While you have used quite a few bowls, cleaning up isn’t too hard, especially if you have a dishwasher. If you don’t, not to worry as the batter comes off easily.
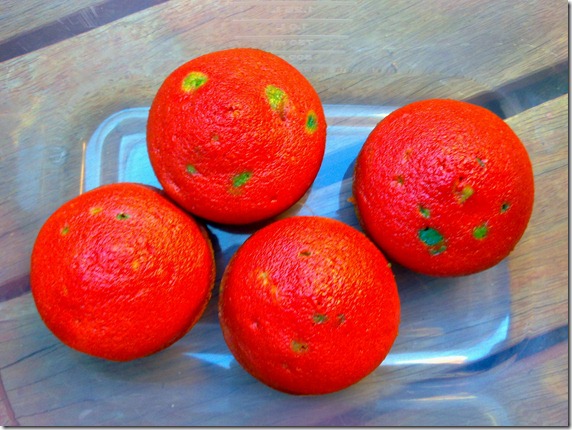
They will look and smell glorious once done. My cupcakes had speckled tops, though it didn’t bother me knowing that I would be frosting them.
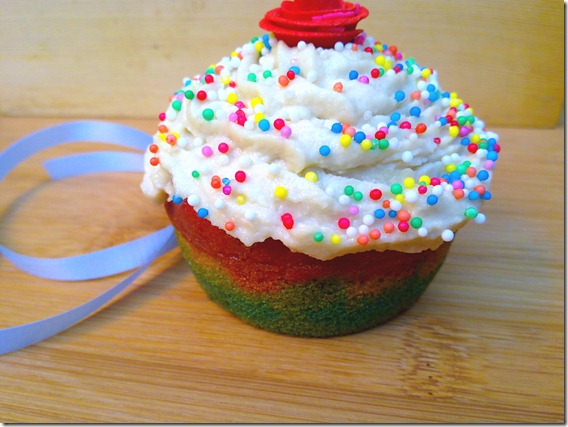
All dressed up with vanilla cashew fudge frosting and a sprinkle of nonpareils (hundreds and thousands to some. Sprinkles work too!). While the rainbow effect isn’t as obvious from the outside of the cupcakes…
…it’s a whole other story when you cut into them.
It’s a magical moment.
Pearl xo
